Welcome to the Fancy Girl blog!

I am so glad you are here! Join me in my journey for all things fancy and fun!

Find out more about Michelle and how the Fancy Girl blog (formerly Glamourviews) got it's name and the goals for this site.

Learn more about the best of the best and try something new!.

Learn all the lastest in beauty trends from a Pro Makeup Artist

Makeup, hair and beauty tips for Prom, parties and everday. Especially for Teens.

Showing posts with label Red. Show all posts

Monday, March 12, 2012

Get the Look - The Vintage Bride

One of my favorite bridal trends that seems to be sticking around is the Vintage Bride.  The vintage bridal look is fairly easy to do if you can master the application of bold red lips and winged out eyeliner.

The Vintage Bride Essentials....
Eyes: To achieve this timeless look you need to know a few basics.  In this era eye lids were fairly light.  And the bold winged out eyeliner was the only focus.  Just a medium shade eyeshadow slightly darker then your natural skin tone is put in the crease just to bring some depth.  Thick black lashes finish the eyes.

Lips: Bold red lips are a must!  You can go with any shade that will compliment your skin tone.  Red-berry, orange-red, blue-red, washed red, cherry red.  It really doesn't matter.  Use a complimentary lip liner to avoid any bleeding of the lipstick. 

To complete the look have your hair stylist do finger waves with a modern twist to give you an updated version so that you don't look to "period".   Some of my favorite hair accessories are the bird cage veil, the Juliet Cap Veil, 50's shoulder length veils, or to simply put a large flower in your hair in lieu of a veil. 


1.Bird cage veil from YJDesign $55.  Find it here.
2.Juliet Cap Veil from Glideshadows $138.00.  Find it here.
3.Hair Flower from Hair Comes the Bride $52.00.  Find it here.
4.Should Length 50's inspired veil from Tiffani Saxton Designs $62.00. Find it here.

To get the look (Shown in top photo)...
Eyes: MAC Cosmetics Shroom Eyeshadow all over the lid.
MAC eyeshadow in Grain in the crease.
MAC Fluideline in Blacktrack for the liner.

Lips: Mary Kay lipstick in Red.
Mary Kay liner in Rasberry.

Cheeks: Mary Kay blush in Strawberries and Cream.

So there are lots of ways to play up this "vintage" theme.  No matter what, it's a timeless and stunning look.  Have fun with it!  Red is a confident color, so show some confidence and know you are rocking this look. 

Top photo:
Photographer: Donna Beck
Model: Naomi Herbster
Hair: Carrie B. Mac Hair
Makeup Artist: Michelle Kinkaid

Check out my PRO Makeup Artist Site here!

Like what your are reading?  Then subscribe!  It's fast and easy! 

xo,


Tuesday, December 27, 2011

Red Lips for your Wedding Day? YES!

One of my favorite wedding day looks includes red lips.  It is just so timeless and classic if done right.  Make sure your eyes are toned down my using lighter neutral colors.  Add a bit of bold by winging out your black eyeliner and adding thinker false eyelashes.  Marilyn Monroe did the red lip look so perfect.  So use her as your inspiration.  Some woman will pair up the look with vintage hair styling.  But as you can see here a soft long romantic look works well too. 

Red comes in so many shades.  For a wedding look go for a subdued red unless you are ultra daring and can pull off a bright red.  Typically warmer toned skin looks better in orange based reds and lighter or cooler tones look best with a blue toned red.  I have blue eyes and medium toned skin.  So my best red is a raspberry or blue toned shade of red.  Red is also very pigmented and typically in the matte range.  That means it can dry out your lips and wear off in some areas more quickly then others and it can be noticeable.  Use a lipgloss for extra moisture and be sure to take the tube of lipstick with you in your bag for touch ups later. 

To avoid getting red lipstick on your teeth a trick from movie stars is to rub a thin layer of Vaseline along your teeth.  The key here is a THIN layer!  You do not want to have goopy teeth.  If you mess up when applying to your lips, simply use some concealer on a concealing brush to erase your mistakes and get a perfect line.  Finish off with a bit of lipgloss just in the center of your lips.  And Va Va voom you have gorgeous red lips!

Click here for another red lip look!

Photographer: Jon with Dae Photography
Hair: Sammie Fae (self)
Makeup Artist: Michelle Kinkaid - www.michellekinkaidmakeup.com
Location: Palladio Mall, Folsom CA
Model: Sammie Fae

Check out my PRO Makeup Artist website here!

Sunday, July 03, 2011

Video Tutorial - 4th of July Inspired!


Just in time for 4th of July, here is a celebration inspired look! 

For the eyes:
In the inner corner and tear duct/ lower lash line, use a Gold color.  I used MAC's Surf Baby Pigment in Gold.
In the Outer corner and outer lower lash line use a Black blue color.  I used MAC's Surf Baby in the black/green/blue color.
In the center use a bright blue.  I used MAC's Cornflower Pigment.
*I didn't show this in the video, but I would use a frost white on the brow bone.

Face: Bronzer for blush

Lips: Go for a bright shade of red.  I used MAC's Cherry liner and NYX Hebe lipstick.

To take this look to another level, add sequins or rhinestones using brush on lash glue.  I used Ardell's.  Also try adding glitter to your face.  I used MAC's Reflects Gold glitter.

And that's it!  Hope you have a FUN and Safe 4th of July!!

Saturday, March 19, 2011

Video Tutorial - Mary Kay Color Card, Reds : Tutorial and Review


Here is a follow up to this weeks review on Mary Kay products.  I didn't have the color cosmetics available to do this look so I did a look off of a color card that they provided.  I followed step by step to see how the look would come out based on their instructions.  On the color card it gives you three different looks using the same color scheme.  I choose to do the Classic Look for this tutorial.  The result: beautiful!  The red lips are stunning in person and it's the perfect raspberry red lip.  The eyeshadow and blush colors were just the right combination to compliment the red lips without looking over done.  I also found the product to easily blend and apply.  It lasted all day with no fail. 

Colors Used:
Eyes- Crystalline, Hazelnut, and Granite Mineralize Eye Color
          Deep Brown eyeliner by Mary Kay (or any deep brown)
          Mary Kay Ultimate Mascara in black.
Blush- Sunny Spice Mineralize Cheek Color
Lips- Raspberry lip liner by Mary Kay (or any raspberry red lip liner)
         Red Rouge Creme Lipstick

All from www.marykay.com.  Contact me for 25% off your order.  Limited time.

Thursday, November 11, 2010

Halloween Photoshoot - Sexy Devil


Finally I am getting around to posting the photos from the Halloween shoot I did.  I had to take a break from blogging.  Somehow I managed to get sick, not my kids, that is still trailing over from last week.  I was in NO shape to do anything but take care of kids and sleep! 

Arielle Jones, a model from Sacramento CA, posed for this Sexy Devil look.  She was a lot of fun to work with and has a ton of ambitions and amazing skin. 

Ariana Grimm from Silver Dasies Photography was our talented photograper!  She was so easy to work with and hopefully we will have some more projects together soon!  Check out her work at http://www.silverdaisiesstudios.com/!

See the rest of the photos on my Facebook page!  Scrool all the way to the bottom of this page to become a fan!


Saturday, October 09, 2010

Sexy Devil Run Thru

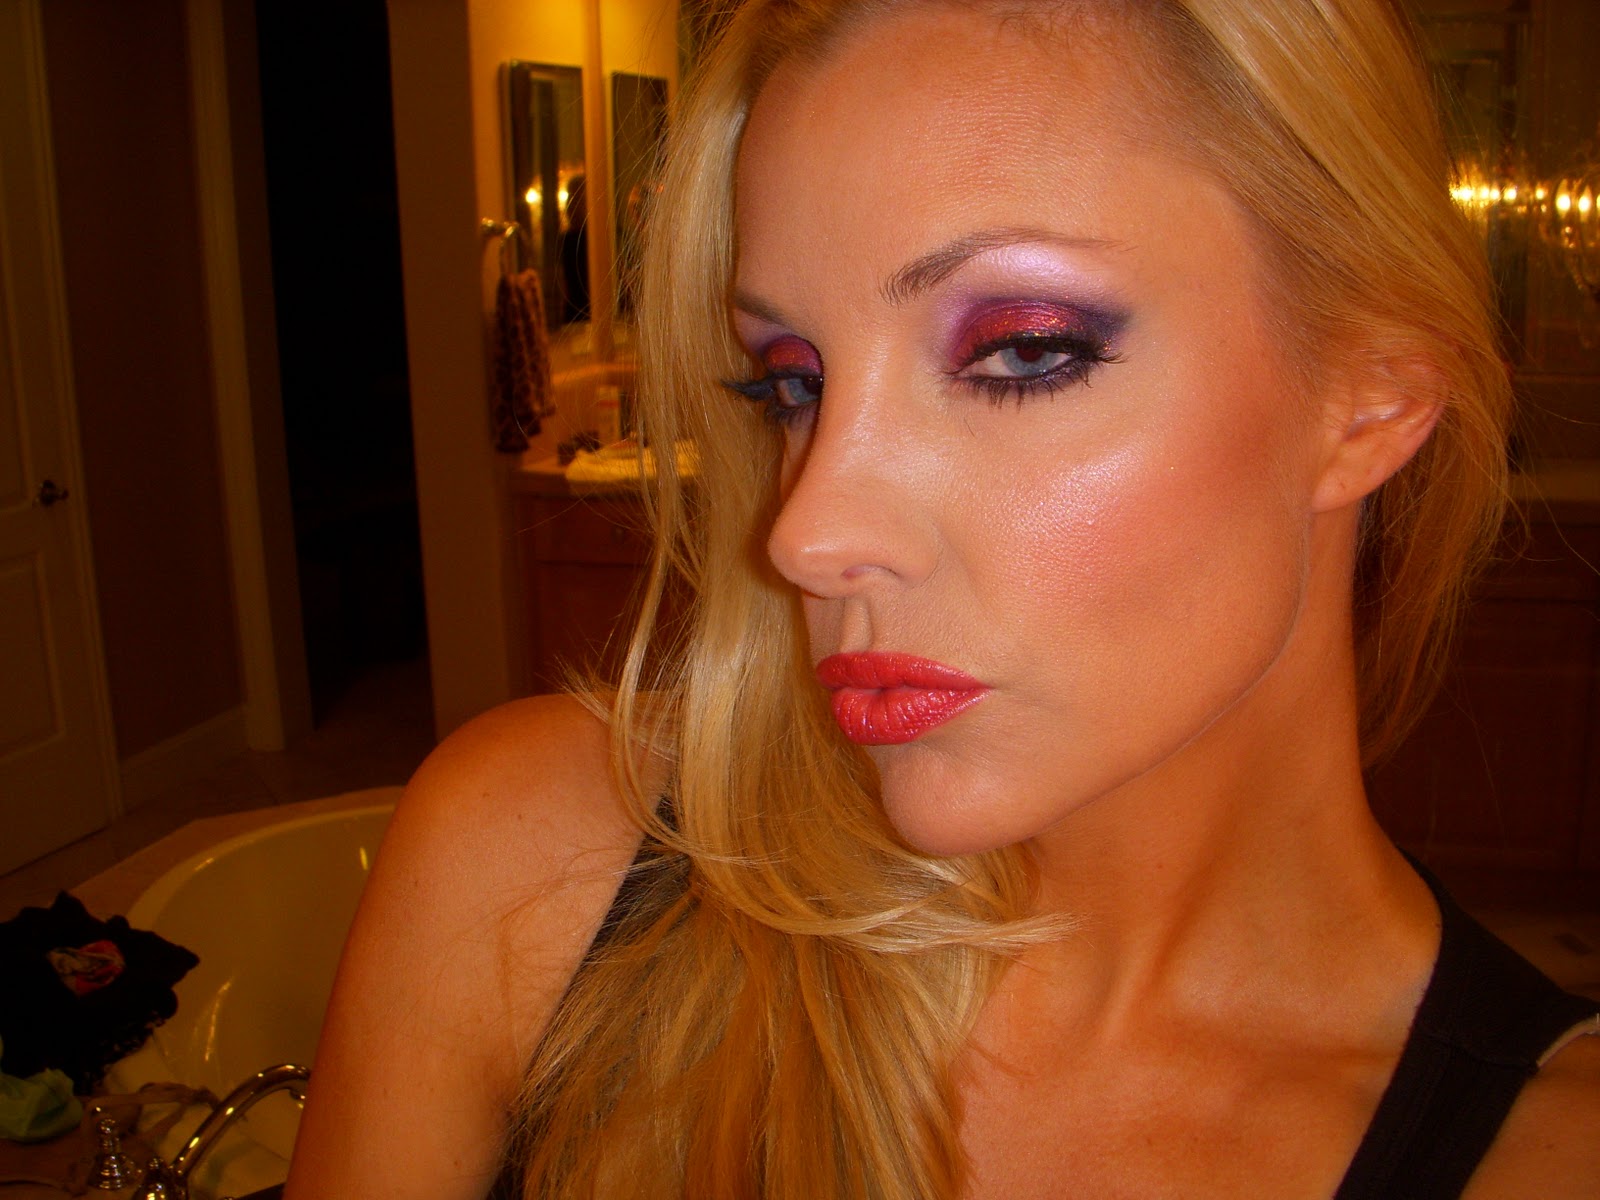
Hi Everyone!  As you know I have a big photoshoot coming up this next weekend that features Halloween costumes.  So I thought I would share with you my ideas to inspire your own looks for this Halloween!  Tonight I did the Sexy Devil run thru.  Tomorrow I will post something else.  Enjoy!

1.  Use MAC's Painterly Paint pot all over the lid and brow bone with a medium dense brush. 
2.  Draw you "v:" with a matte black color and go into the crease about half way. 
3.  Use an irredencent white in the inner eye and blend upwards and onto the brow bone.
4.  Use a matte red color on the center of the eye with a dense medium shadow brush.  Do not sweep.  Pat it in and press.  This way the color won't flick everywhere.
5.  Now on top of the red add an irredecent red over.
6.  I used all the eyeshadow colors from several Costal Scents pallettes.
7.  Now add MAC's Black Gel eyeliner along the top lash line and fan out for a cat like shape.  Bring is to the bottom of the lash line and go almost all the way.
8.  Get a regular pencil eyeliner in black and line the water line on the top and bottom to really black it out.  Add some black eyeshadow to that lash line and connect the "v'.  Softly blend your eyeshadows together.
9.  Clean up you loose powder on your face and move on to applying your concealer and foundation.
10.  Add your blush.  I used a color from Costal Scents again that was in the pallette that had the black and matte red.  I kept the color on the Pinky side to stay within the color tones of the red in the eye.
11. Set foundation with powder and touch up blush as needed. 
12.  I also did a bit of contouring in the cheek and nose area to look more hard.
13.  Buff that out to blend with your blush.
14.  Add a bit of MAC mineralize skin finish in Soft and Gentle.
15.  Add a very volumizing mascara and add full fake lashes.
16.  Lips needed to stay in the same color family as the red you used.  I used MAC's Brick liner, NYX diamond lipgloss in Red and LA colors glitter gloss. 
17.  Oops!  I amost forgot!  The Glitter!  Mix some of the irredecent red eyeshadow using a dense med eyeshadow brush and mix it with NYX cream glitter pallette in the white.  Pat it on each eye and keep applying untill you get the desired effect!


And there you have it!